For this composite I used two images. The first one, which you can see here, was shot with a Canon 10D with a Sigma 18-50mm lens with 1/320th shutter speed and f-2.8. I shot at ISO 200 for minimum noise.

As you can see, the photo is only a snapshot and is not very interesting. It is flat, does not have contrast, and the highlights are blown out in some places.
The second image was also taken with the same camera and lens. However, for this shot I used 1/250th shutter speed and ISO 800. The f-stop is also f-2.8.

Next, I used the Spot Healing Brush with Content-Aware selected and removed the grill from the flame, thus bringing the flame in front. I selected the flame with the Quick Selection tool and used the Refine Edge command to extract the flame from the image.
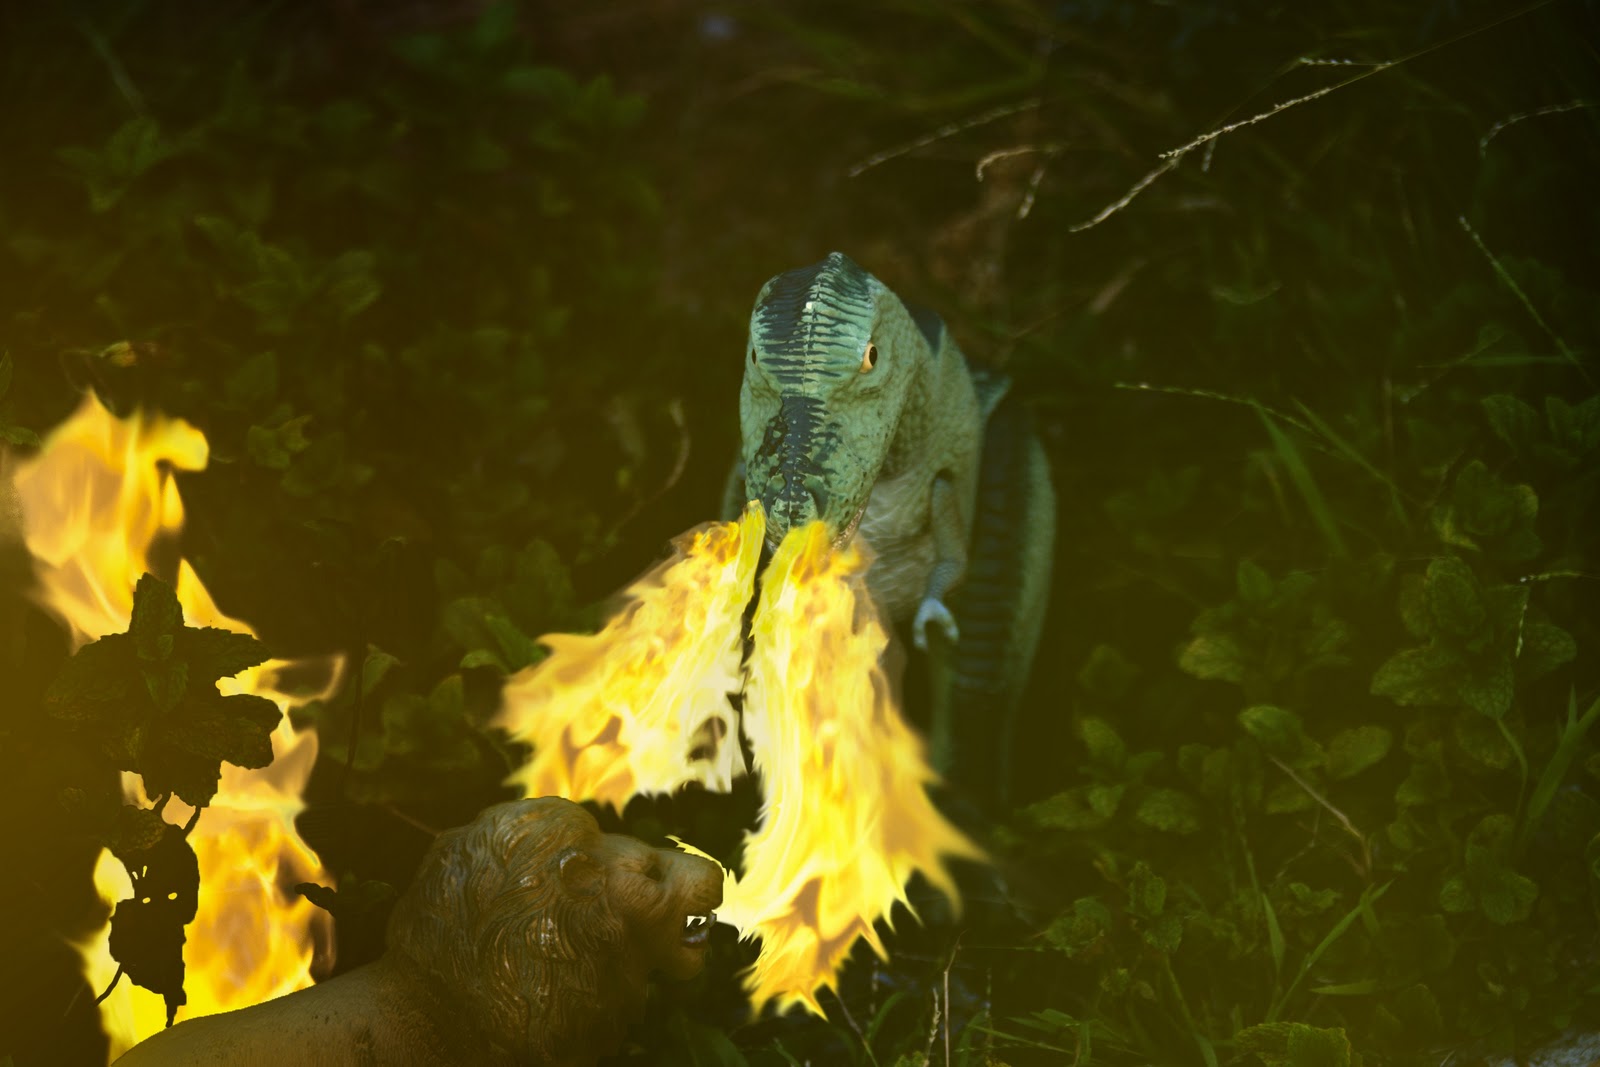
I brought the fire into the first picture and set it in the far left. I duplicated the fire, flipped it vertically, and began to use the Smudge tool, the Liquify filter and the Warp command to make it look as if it was coming from the dinosaur's nostrils.
Having done warping the fire, I selected the lion and made it a separate layer. I darkened this layer with both the Levels and the Curves adjustment layer. I then added a glow to the lion to make the scene look more realistic.
Next, I selected the grass, making it a separate layer, and placed it in front of the fire. Then I darkened it with the Burn tool and the Curves adjustment layer and added a small orange outer glow.
Finally, I added a glow on both sides of the image to make for a more realistic effect.
Here is the final composite:
Thank you for reading and I hope you enjoyed this post. I will continue to post more image and composite overviews everyday.
No comments:
Post a Comment