Pages

I've made the move to Wordpress.

You will be automatically redirected in 5 seconds.
If not, please click here:

Thank you.


Friday, September 30, 2011

"Oakland Police Memorial" Part 2

Good afternoon and welcome back to Impacted Images. Here is part 2 of my three-part series, "Oakland Police Memorial." I took these photographs at a memorial for four police officers killed in the line of duty in Oakland in March 2009.

All of these images were taken using a Canon Powershot A630.


Thank you for visiting Impacted Images. I will post more photos tomorrow.

Thursday, September 29, 2011

Personal Project: Oakland Police Memorial, Part 1

Good afternoon and welcome to Impacted Images. Today's post is not an image overview; I shot these images when I went with my dad while he was covering the memorial service of four police officers killed in the line of duty in Oakland in March 2009. This is the first part of a three-part series, "Oakland Police Memorial."

All of these images were taken with a Canon Powershot A630.
Here are the first images:


Thank you for visiting Impacted Images. Tomorrow I will post more images of the Oakland Police Memorial series.

Wednesday, September 28, 2011

Today's Image: "Doorknob"

Good afternoon and welcome back to Impacted Images. Today's image overview focuses on my newest HDR image, "Doorknob."

This image is an HDR (high dynamic range) photo and was created in Photomatix Pro 4.0.2 using these three images:


0.3 shutter speed
1.0 shutter speed

0.5 shutter speed
After combining the images to make an HDR image in Photomatix, I opened Photoshop and started to work on the photo. I first began by using the Shadows/Highlights adjustment layer to add fill light to the shadows and eliminate some of the highlights. I set the Shadows slider to 35 and the Highlights shadow only to 5 since there weren't many highlights to remove. I also used the Burn tool on the wall to the left and the light on the far right.
I removed the panel from the roof in the top right corner by selecting it and using the Content-Aware Fill command which is new in Photoshop CS5. This removed most of the panel, but I still had to touch it up with Photoshop's Patch and Clone tools.

Tuesday, September 27, 2011

Gallery

Folks, since I do not yet have a web gallery, I will post my best images here. I hope you will enjoy them.

"Deep Cycle"
"Police"
"Tower"

Monday, September 26, 2011

Special Image: Composite "Fire Attack"

Welcome back to Impacted Images. Today's image overview features one of my composites, "Fire Attack."

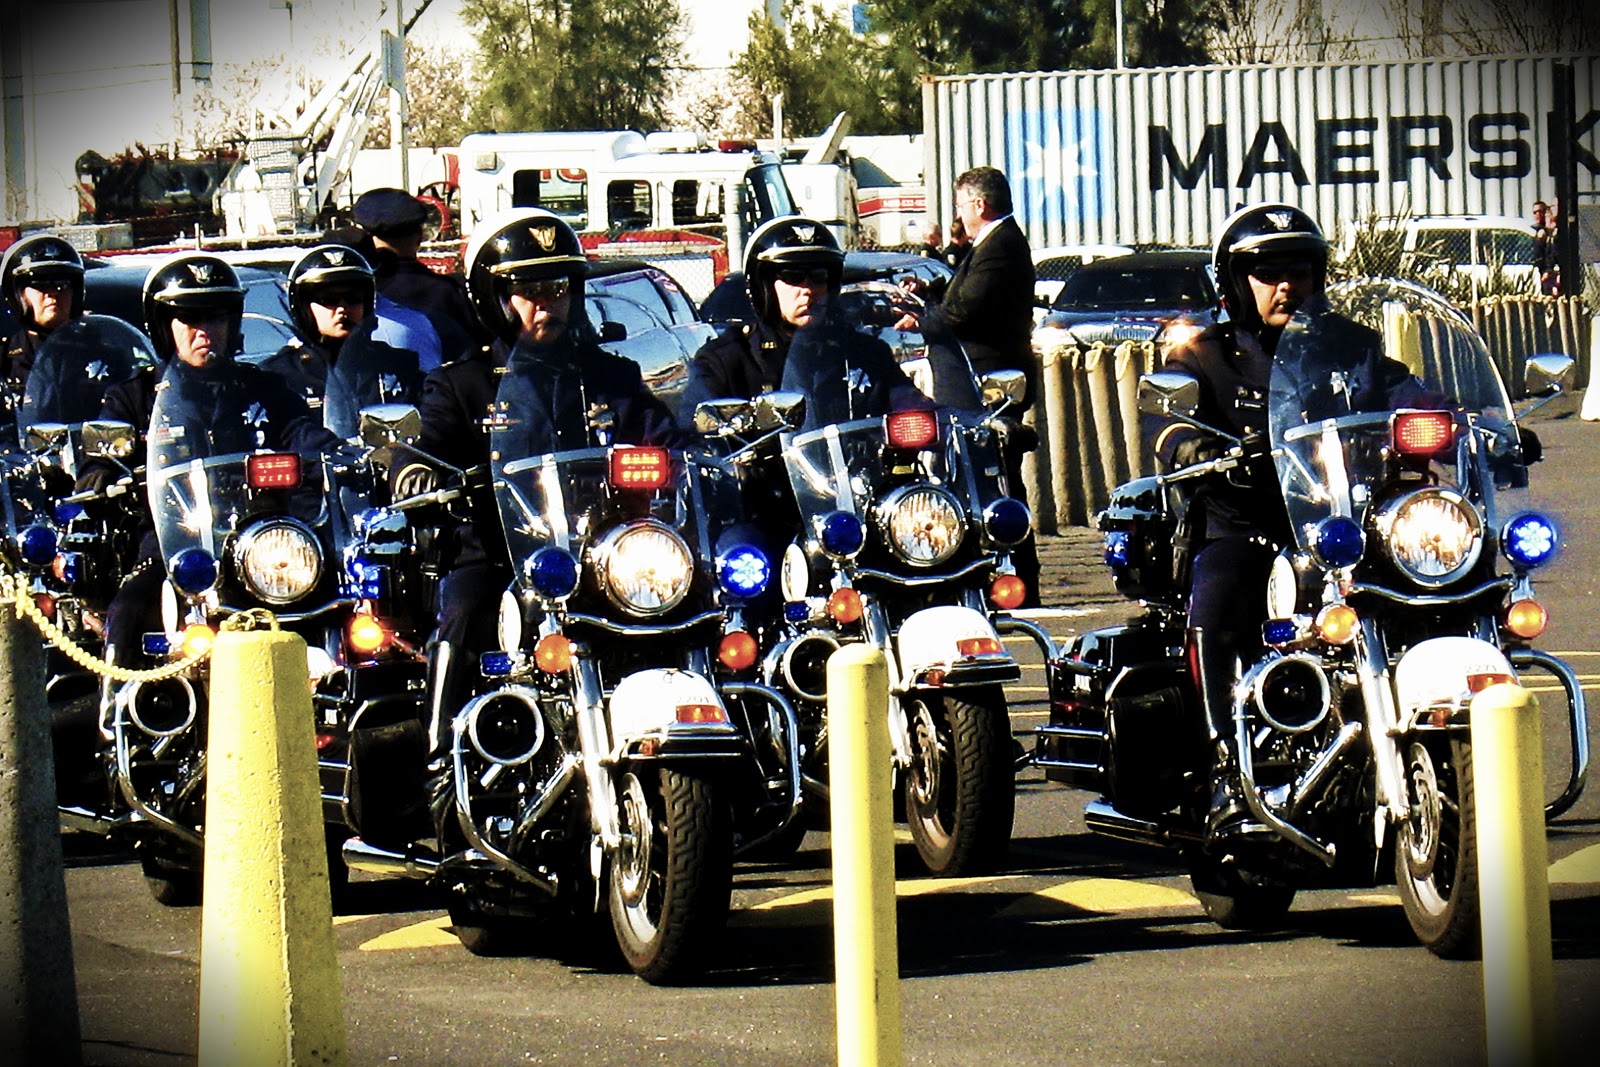
For this composite I used two images. The first one, which you can see here, was shot with a Canon 10D with a Sigma 18-50mm lens with 1/320th shutter speed and f-2.8. I shot at ISO 200 for minimum noise.


As you can see, the photo is only a snapshot and is not very interesting. It is flat, does not have contrast, and the highlights are blown out in some places.

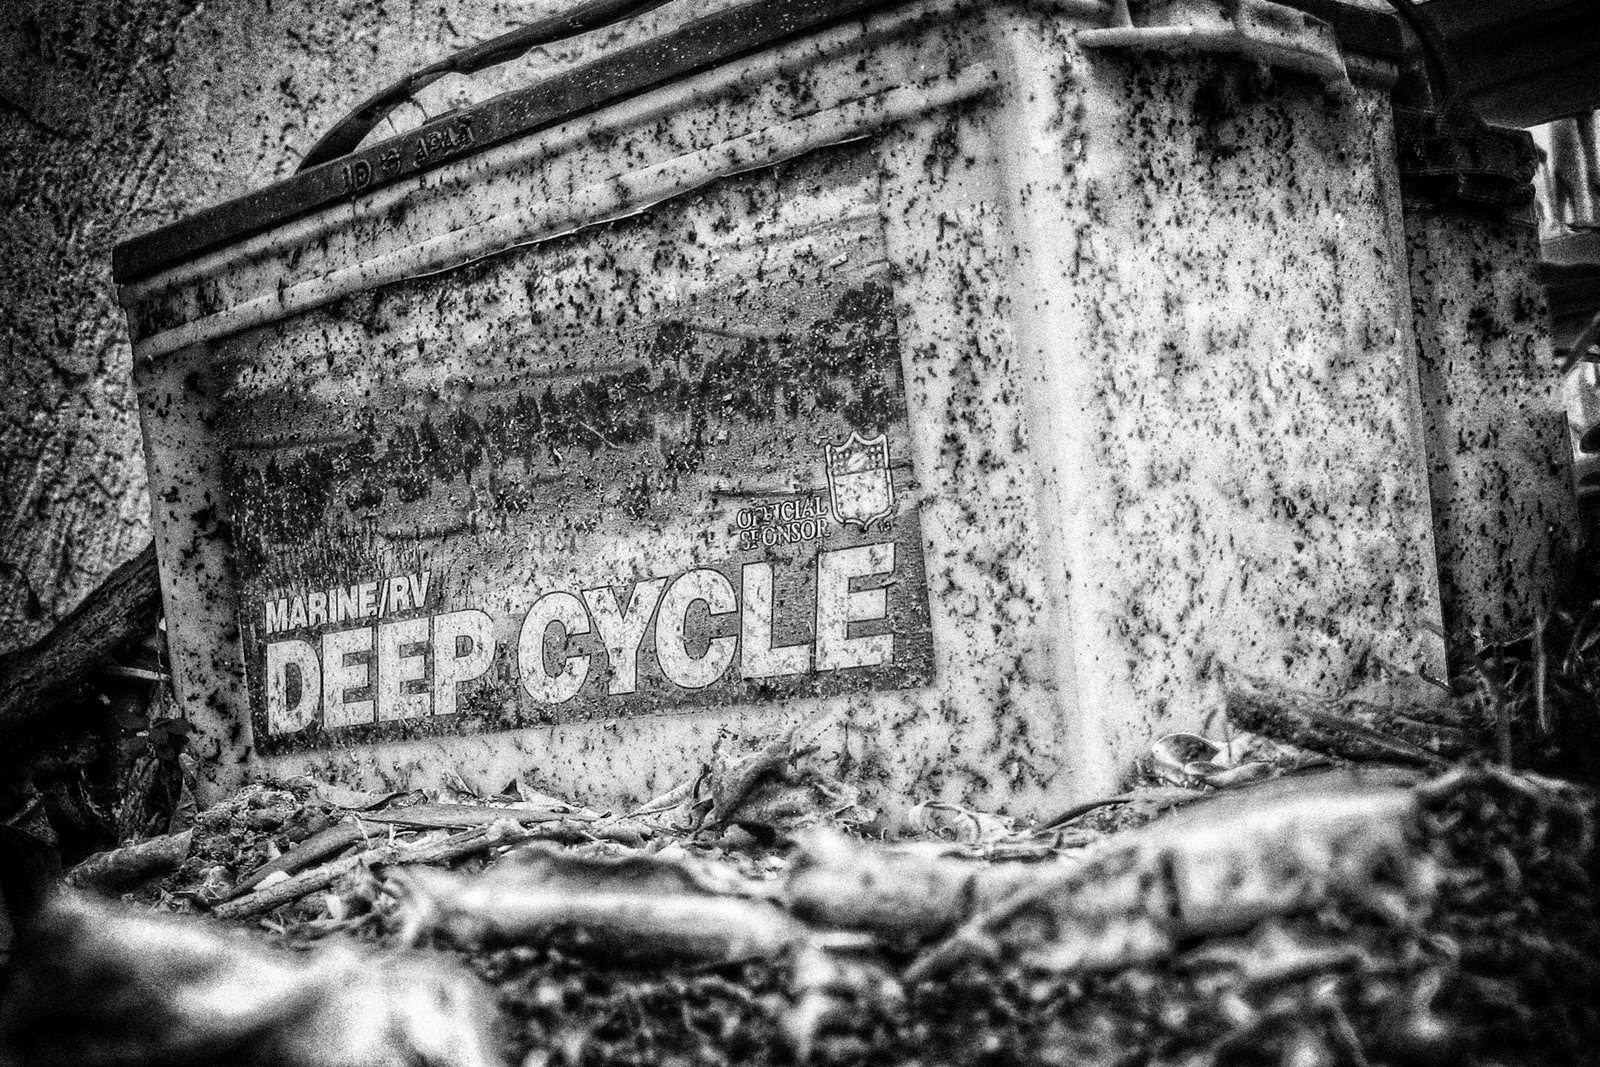
The second image was also taken with the same camera and lens. However, for this shot I used 1/250th shutter speed and ISO 800. The f-stop is also f-2.8.


To start with the composite in Photoshop CS5, I first drew the two nostrils for the dinosaur. I used Free Transform's Skew command to adjust the dinosaur's right nostril. I then used the Levels adjustment layer to darken the image. For this, I pulled the middle slider all the way to the right for a dark, high contrast look.

Next, I used the Spot Healing Brush with Content-Aware selected and removed the grill from the flame, thus bringing the flame in front. I selected the flame with the Quick Selection tool and used the Refine Edge command to extract the flame from the image.

Sunday, September 25, 2011

Today's Image: "Backlighted Hills"

Good morning and welcome to Impacted Images. Today's image overview features one of my images, "Backlighted Hills."

 This is the original, unprocessed image. I took this photograph with a Canon Powershot A630 using 1/200th shutter speed and f-5.6. I used ISO 80 for less noise. As you can see, the picture was taken on an overcast day and therefore has almost no detail in the sky and is washed out in the lower part of the image, with no contrast at all.

In Photoshop CS5, I first used the Shadows/Highlights adjustment layer. This lightened the shadows and darkened the sky. Next, I applied Tonal Contrast from the Nik Color Efex Pro 3.0 filter. This revealed much more detail than a regular Brightness/Contrast layer could do.

For better detail and for a more impacting image, I used Exposure 3's Color Film filter and chose Polachrome - Higher Contrast. I modified the contrast and saturation inside Exposure for a more detailed photo.


Saturday, September 24, 2011

Old Photographs

Folks, these are old photographs that I took a couple years ago. I don't have a web gallery yet, so that's why I'm using the blog to show them.

Hopefully you'll enjoy them.

"Sister's Shoes"

"Dandelion Rays"

Today's Image: "Soldier"

Welcome once again to Impacted Images. Today's overview features my new image "Soldier."

This is the unprocessed image straight from the camera:


For this picture, I shot with the Canon Powershot A630 at 3.2 sec at f-6.3. I used ISO 100 for as less noise possible.

In Photoshop, I first added Tonal Contrast with the Nik Color Efex Pro 3.0 filter. This added as much contrast as possible and revealed every detail in the image without degrading image quality.

Next, I used Alien Skin Exposure 3 and added Color Film - Fuji FP-100C (too long in the pod.) I added this filter for more saturation and more strong colors. This layer was especially important to the final print. I next applied Exposure 3's Black and White - Kodak Tri-X 400 (pushed 1 stop.) I lowered the opacity to 80% for a nice, desaturated look.

Friday, September 23, 2011

Today's Image: "Piano Fingers"

Here is today's image overview, featuring my newest image, "Piano Fingers."

This is the RAW image straight from the camera:

I shot with the Canon 7D and 18-270mm lens zoomed in to 50mm. I used 1/160th shutter speed and chose f-14 for better depth of field and sharpness. I also used ISO 125 and Auto White Balance.

The camera was resting on the piano keys with the Canon Speedlite 580EX II over the subject. To the camera left I set up a reflector to bounce the light back into the hand. The flash was firing at 1/32 power with the zoom set to 50mm.

In Photoshop CS5, I first used the Burn tool on top of the fingers and below the thumb where there was some reflection from the keys. Next I painted on a separate layer over and to the sides of the hand to eliminate any distractions, which was in this case a reflection from the flash over the hand.

Thursday, September 22, 2011

Today's Image: "Fingers on the edge"

Good afternoon and welcome to Impacted Images. In today's post I will show you how I created the image "Fingers on the edge."

This is the raw image without any adjustments made.


This picture was shot with the Canon 7D and 18-270mm lens zoomed in to 50mm. I set the ISO to 160 for low noise and used 1/160th shutter speed. I also used f-9.0 to get better depth of field and sharpness.

Auto White Balance was used instead of Flash white balance since I did not need much warmth for this shot.

To the subject's left (camera right) I set up a Speedlite 580EX II with a Westcott micro softbox which was triggered wirelessly. The flash was set at 1/64th power and zoom was set for 50mm.

First I used Adobe Camera Raw to touch up the image before heading into Photoshop. In Camera Raw I adjusted the Contrast, Exposure and Clarity. After this, I opened Photoshop and started by cropping the image. Then I painted black on a separate layer just above and to the I  sides of the fingers. I did this to remove any unwanted elements from the scene.

Next I used the High Pass filter and set the blend mode to Soft Light. This was for the high-contrast, detailed part of the image.


Tuesday, September 20, 2011

Today's Image: "Flag at Halfstaff"

Welcome back to Impacted Images. Today I will show you another one of my images and what it took to get the final result.


This image was shot with a Canon Powershot A630 using 1/1000th shutter speed with f-4.5. I used ISO 100 for minimum noise. I took this photo at a high shutter speed since it was a very bright day.
As you can see, the picture is just a snapshot, has no contrast and is not very impacting.

First I used the Alien Skin Exposure 3 plug-in and chose Black and White Film. I selected the Agfa APX 25 to begin with since it did not have much noise. I then used the Contrast Color Range from the Nik Color Efex 3.0 plug-in. This added more contrast without blowing out the highlights. I also used Nik Silver Efex Pro and added the Holga filter. The Holga filter darkened the street and the shadows.

Next I added the Daguerreotype - Sepia effect using Exposure 3. I wanted a touch of sepia in the final image. Then I used the Distortion - Small Lumps to add vignette to the portrait.

Monday, September 19, 2011

Introduction and Today's Image: "Leaves with Kodachrome"


Welcome to "Impacted Images." In this blog I will detail everything it takes to get final results, from capture to post production and final image.


This is the original RAW image straight from the camera. It was taken with a Canon 7D and a 18-270mm lens. I shot it at f-9.0 for depth of field at 1/30th shutter speed and ISO 125 to keep the grain low. I also used the Vibration Compensation on the lens to eliminate shake and set the white balance to Auto White Balance.


As you can see, the original image is flat, lacks details, lacks color and it could use some contrast.